


Map making: Geometry
In this article:
-
– BSP geometry basics
– Making geometry
– Overview of tools for working with geometry objects
CSG and BSP
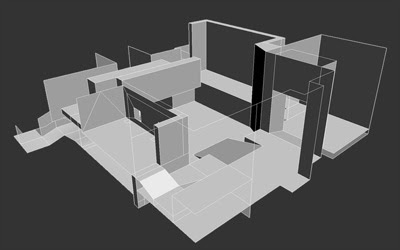
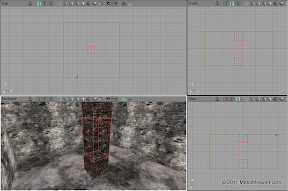
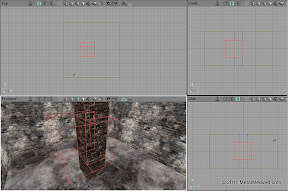
There is the original geometry world making conception in Unreal engine. It’s Constructive Solid Geometry (CSG), that represent subtract and addict sequence of map geometry. All the black, a «nothing» that we may see during new map making is a solid space. So we should subtract world space and then fill it with stuff. This action is implemented by creating of subtractive brushes. You may add some decor stuff into subtract space. It’s implemented by another brush: the additive one.
You may combine these actions (subtraction/addition) for creating complicated stuff. E.g. you may subtract room space then add wall dividing this to 2 separate parts and finally subtract a door between it.
You should take care about geometry creation sequence during map making. If you’ll do it in wrong sequence you may get unexpected result. E. g. if you add divider firstly then door and finally room box you get only one room without divider however it’ll be looks same in editor. To change CSG action sequence use Order >ToFirst or Order > ToLast context menu items on needed brush(s).
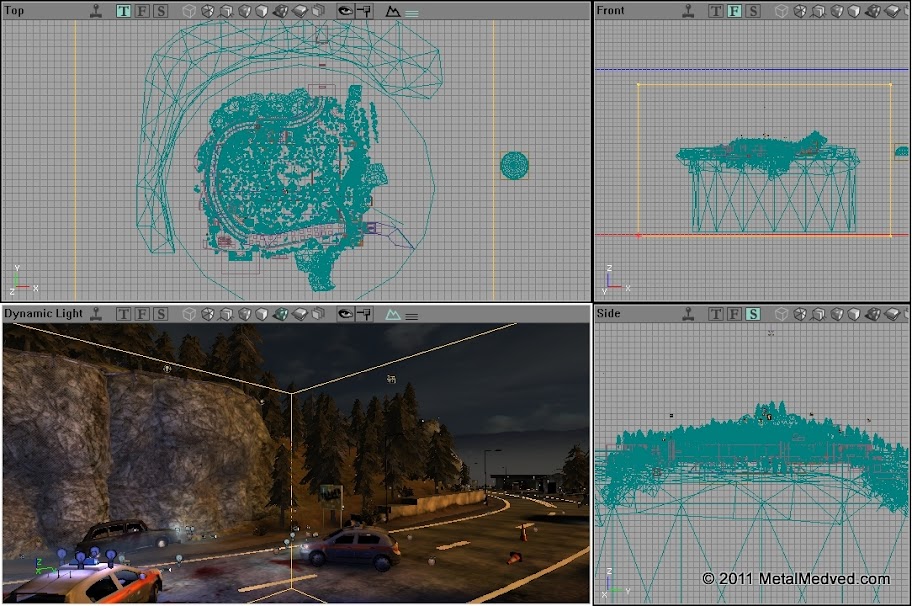
Every room or passage is subtracted separately on closed space maps.

Open world maps are made in huge subtracted box.
BSP (Binary Space Partitioning) is method of binary subdividing a space that is used during building virtual geometry. With BSP tree help it makes object classification depends of viewer distance. For more information about BSP look here or there . Compiled map BSP cuts depend on its location, shape and brush type. In the complicated sequences it is possible to raise errors during cuts making, so called BSP Holes in space.
Brush copy and layout
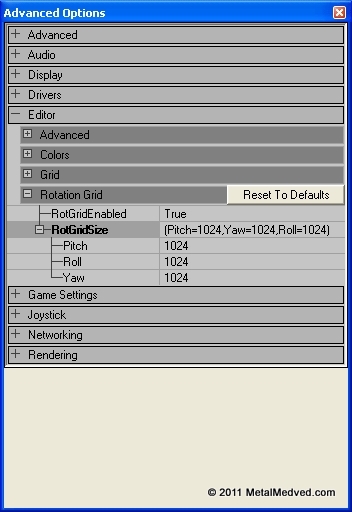
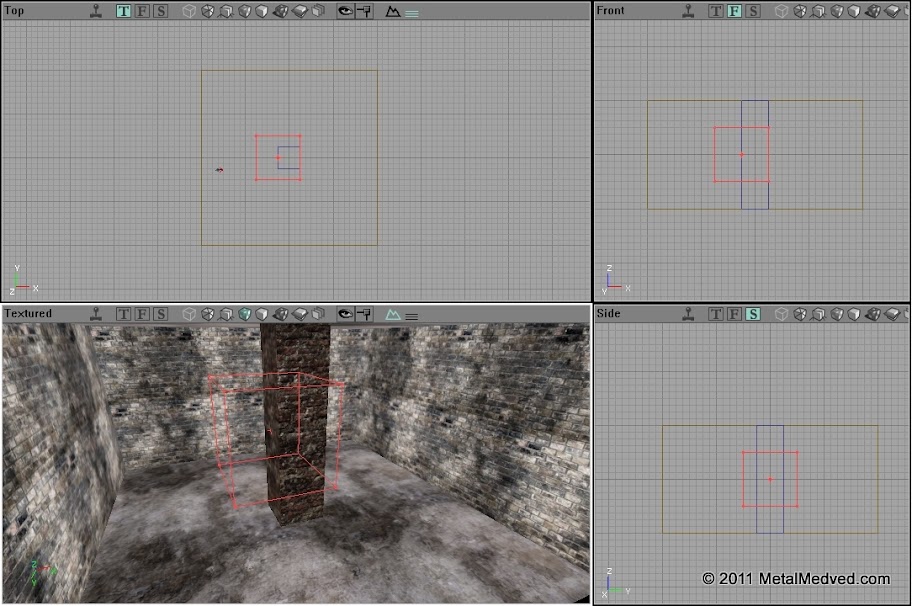
To move brush you should select it then move it holding Ctrl and left mouse button (LMB). You may select few brushes holding Ctrl as well and move it together. You may rotate them around the pivot (crosshair) holding Ctrl and right mouse button (RMB). Brushes are moved in editor grid. You may change grid siae in bottom toolbar. E.g. for tiny objects it should be used 1-8 grid size. There are 3 parameters of rotation: Pitch, Roll and Yaw and its own grid. One unit of this grid equals value 1024 on one of this parameters. You may chage grid size in editor options: View > Advanced Options > Editor > RotationGridSize.
For rotation you may switch off moving or rotation ability by using Toggle Drag Grid or Toggle Rotation Grid buttons. If one or more brush points are placed on editor grid cross you may align brush relative to this point by selecting it and use RMB. Selected brush(es) will moved to distance from given point to crossing. Brush pivot will be set to point axis as well.
All objects can be copied and duplicated (except builder). To duplicate brush you should click RMB > Duplicate or Ctrl+W on selected brush(es). Duplication uses for copying objects on single map. To copy objects between maps you should click RMB > Edit > Copy on one map object(s) then insert it by clicking RMB > Edit > Paste on other map. It works even between different game maps (e.g. from UT2004). Copied brushes will have same textures and stuff as well. After geometry changing it needs to compile by pressing  Build Geometry button. During map full compiling(Build All ) the geometry is handled first.
Making geometry tools
There are two general tools for geometry making: Add  and Subtract
  . You may add and subtract map space by brush builder outlines using this tools.
Intersect  and Deintersect
  use for builder shape. It cuts brush builder using outlines and cuts Solid or Non Solid.
Intersect
Deintersect
You may select all map space and press Deinserect to see BSP cut outlines.

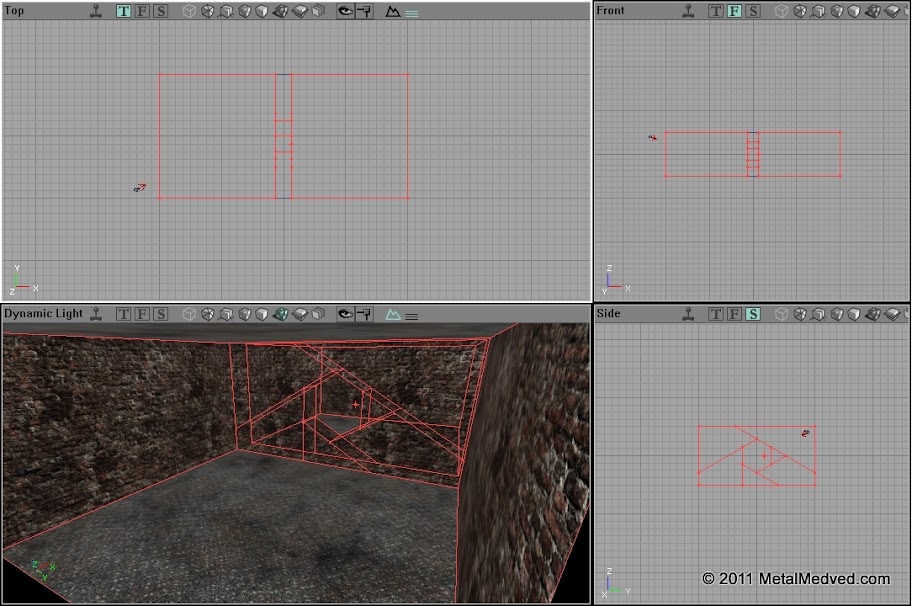
You may see cuts Zone/Portal mode.

Geometric figures
Tools for making shapes are placed at left tools panel. You may create Builder using this tools and edit its params using context menu (RMB).
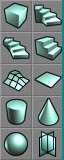
Cube. Creates parallelepiped. Very simple and useful tool.
Height
Breadth
Width
WallThickness – if Hollow = True
GroupName
Hollow – Creates hollow brush with WallThickness. Useful for Additive brushes and making buildings.
Tessellated – Splits brush sides to triangles.
Cylinder. Creates cylinder-like prism.
Height.
OuterRadius – Radius of base circumscribed circle (if AllignToSides = False) or inscribed circle.
InnerRadius – Radius of base inscribed circle (if Hollow = True).
Sides – Sides quantity.
AllignToSides – Align radius to sides.
Hollow – Same as for cube.
Cone. Creates cone like pyramid.
Height
CapHeight – If Hollow = True
OuterRadius – Radius of base circumscribed circle.
InnerRadius – Radius of base inscribed circle.
Sides
AllignToSides, Hollow – The same as above.
Sphere. Creates sphere-like tetrahedron.
Radius
SphereExtrapolation – Detalization level. Higher – better (avoid using value above 6).
Stairs:
This is brushes consist of several parts.
There are 3 common params for all stairs types below.
StepWidth
NumSteps
LinearStaircase.
StepLenght
AddToFirstStep – Additional height.
CurvedStaircase.
InnerRadius – Distance down to stairs start point.
AngleOfCurve – Turn angle from fist to last step.
AddToFirstStep – Same as LinearStaircase.
CounterClockwise – Stairs turn direction.
SpiralStaircase.
InnerRadius – Distance down to stairs start point.
StepThickness
NumStepsPer360 – Steps quantity during 360 degrees turn.
SlopedCelling – For sloped stairs reverse side.
SlopedFloor – Turns stairs to slope.
CounterClockwise – Stairs turn direction.
Surfaces:
Sheet: plain quadrangle surface. It uses for map zone dividing and sets creating.
Height/Width
HorizBreaks – Horizontal segments quantity.
VertBreaks – Vertical segments quantity.
Axis – Sheet creating axis.
Volumetric: Structure consists of some plain surfaces crossed in middle. Sometimes it uses for sets making.
Height/Radius
NumSheets – plane parts quantity.
Landscape:
BSP Based Terrain: Creates cube brush with one side splitting to segments that splitting to triangles. It sets to use for BSP landscapes. Actually it is very inconvenient way to do it.
Height/Width/Breadth
Width/Depth Segments – segments quantity.
Scales
There is a special dimension unit: UU (Unreal Unit).
1 UU = 0.75 inches
1 ft = 16 UU
256 UU = 16 ft
For turning and rotating it uses special units that shows deflection relative to original position.
1024 = 5.625 degrees
8192 = 45 degrees
16384 = 90 degrees
24576 = 135 degrees
32768 = 180 degrees
If it uses negative values rotation will be done in clockwise.
Shape editing tools
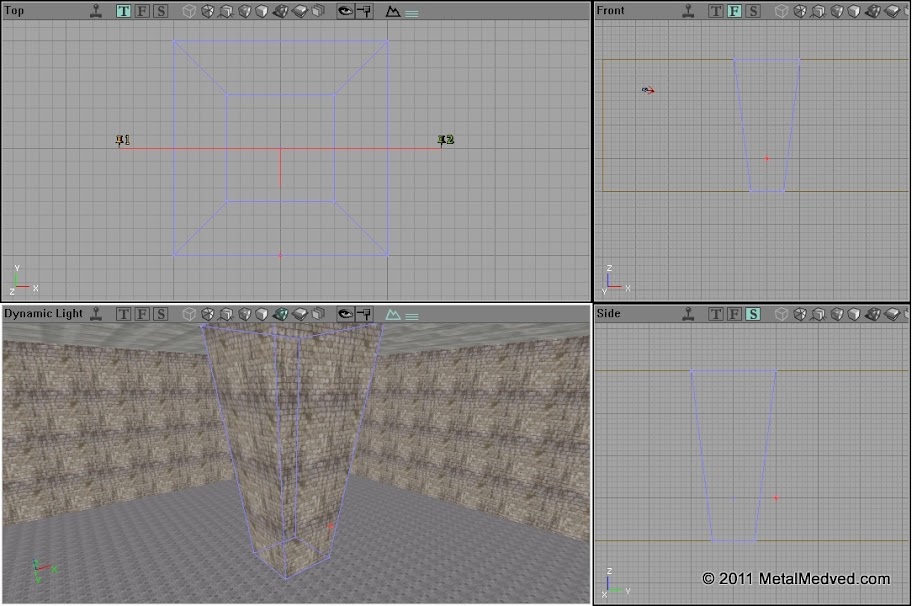
 VertexEditing: Very useful tool for free shapes making. It ables to change brush shape by moving vertex points.
Select brush then select vertexes holding Ctrl and you may change brush shape moving vertexes with holding Ctrl+LMB.


It is much better to use em>VertexEditing for complicated shape making and brush duplicating then making new one from beginning.
You may use ShowLagreVertices tool button for easy point viewing.
 BrushClipping: Tool for brush splitting and cutting. Selecting brush and BrushClipping mode you may put Clipping markers. To put marker you should click LMB on one of brush points then holding Ctrl move it to needed place. 2 markers are enough for brush cutting/splitting. You may see red line between markers with perpendicular segment that marks cutting part.
There are 4 tools for BrushClipping mode: 
Clip Selected Brushes – Clip a brush towards segment.

Split Selected Brushes – Split a brush along the line of cut.

Flip Clipping Normal – Flip cut side.
DeleteClippingMarkers – Remove all markers.
Finally couple of useful tools. 
Mirror X/Y/Z – Mirror reflection of geometry relative to pivot at one of axis.
Select All Inside – Select all objects inside builder.


Read also:
Tags: bsp, killing floor, map making


08 Apr 2016 в 0:00
А можно ли создать невидимую стенку? Не Block а именно стенку
08 Apr 2016 в 10:51
Да, делаешь невидимую текстуру и накладываешь ее на BSP поверхность